

At some point I amassed a collection of large shirt boxes, which are generally too big for the gifts I’m giving. Which means I’d end up wasting wrapping paper and tissue and under-the-tree space with these huge boxes. Last year, I discovered this trick to turn shirt boxes into custom boxes and immediately wondered where it’d been all my life! Why didn’t my mother or my mother’s mother pass on this wisdom?
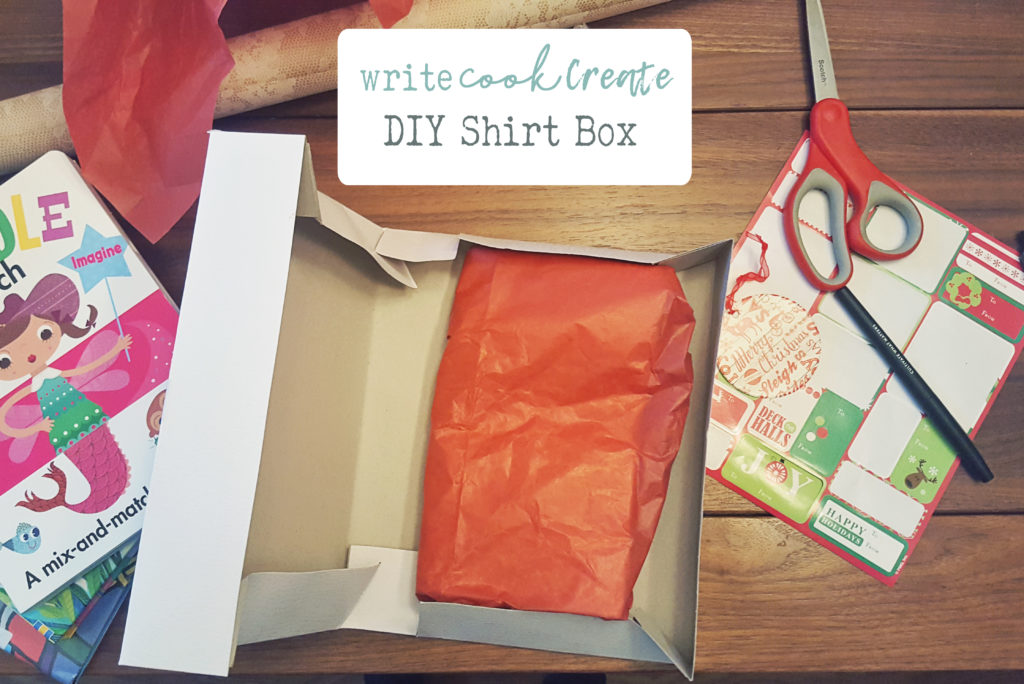
So here are the 3 easy steps to turn a big shirt box into a custom smaller box.
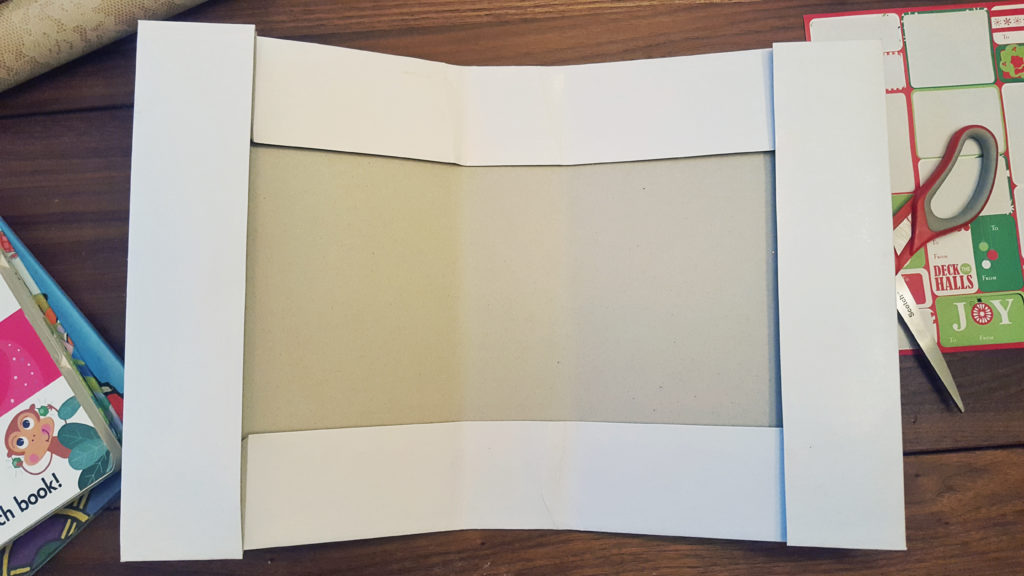
Step One
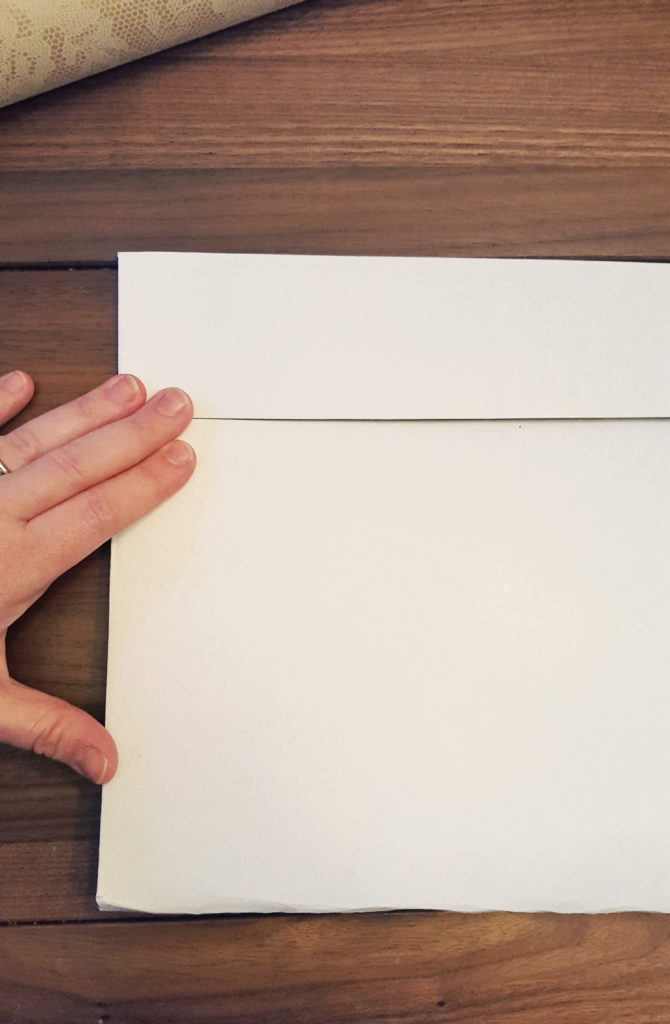
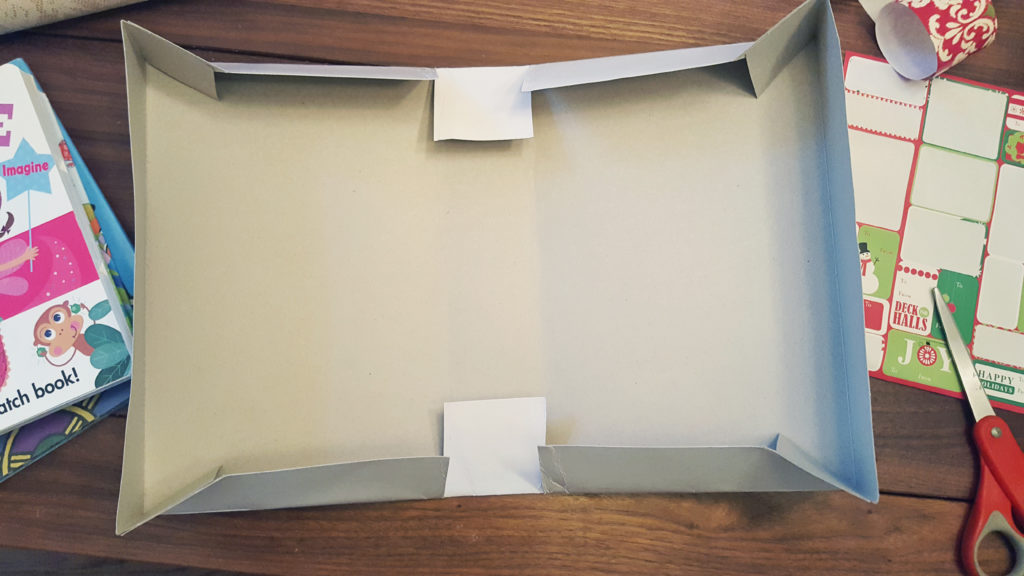
Take either the top or the bottom half of a shirt box and make two folds. For the first fold, bring the edge of one side to the start of the other side’s flap. Repeat for the other side.
You’ll end up with two creases in the center.
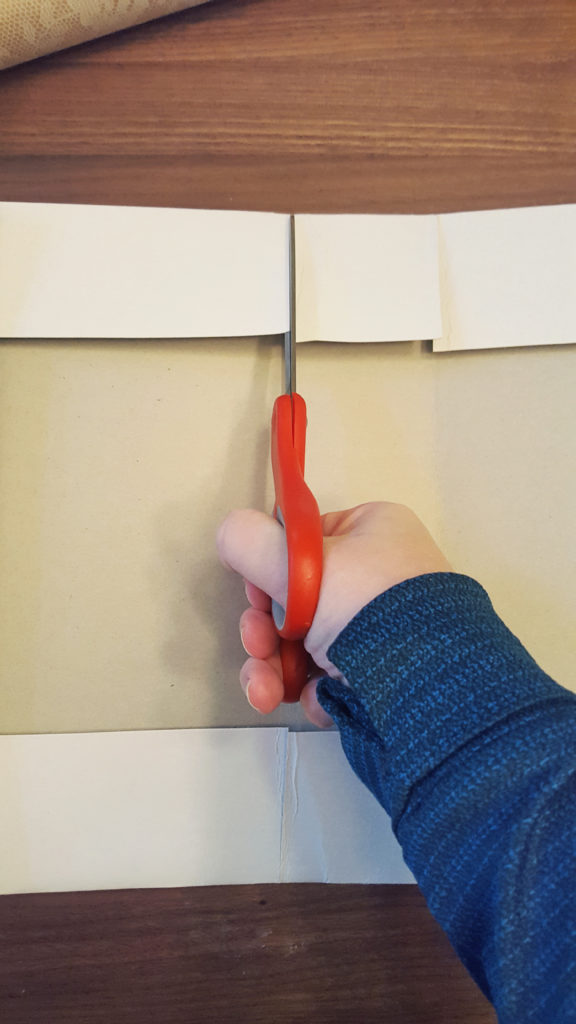
Step TWO
Grab your scissors and cut the flap along all four creases. Then lift up the side flaps to make them all stand up and then you’re almost done!
Step three
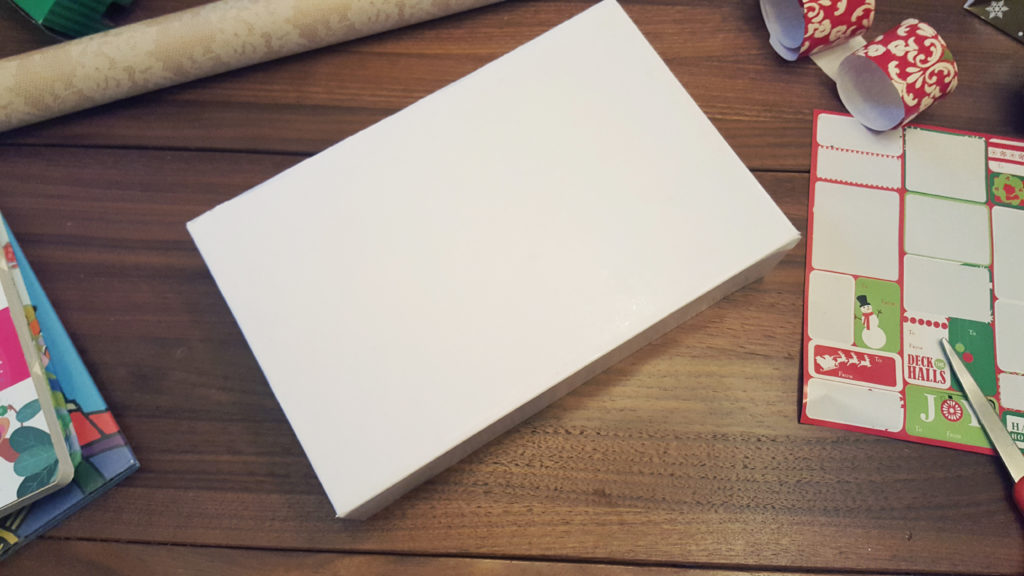
Fold at the creases and boom! You’ve just made a custom smaller box that’s just the perfect size for scarves, books (like that cute Usborne Muddle and Match book), movies, and other smaller goodies.
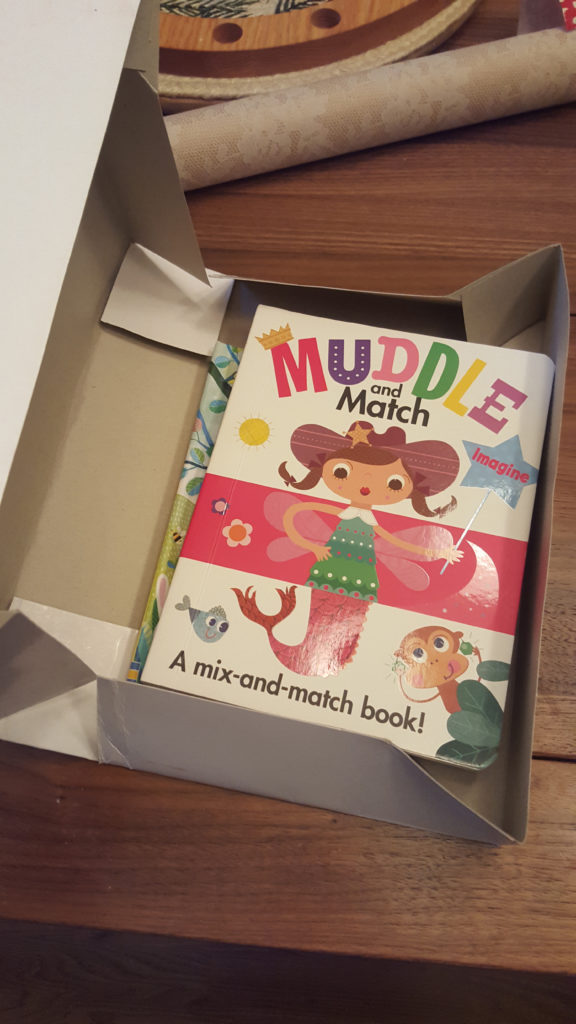
I love the cute size and overall shape of these boxes and am still kicking myself for not knowing about this sooner.

I hope this helps you during the Christmas wrapping season. Now get out your scissors and start cutting!